
Create Easy and Affordable DIY Brass Knuckles at Home!
Posted by SwordsSwords on Sep 14th 2023
Looking for the perfect martial arts accessory that suits both your hands and your budget? Well, look no further! Brass Knuckles are the ultimate answer. These handheld ninja weapons are not only effective but also incredibly easy to customize and adorn. And if you're itching to design your very own homemade knuckle dusters, you're in luck. Just follow a few simple steps.
Self defense tools are typically crafted from tough and durable materials like titanium and brass, ensuring they can withstand the test of time. However, if you don't have access to these metals, you can also create knuckles from wood. Just make sure you have the right tools and follow the instructions closely. Safety should always be your top priority throughout this process.
So, get ready to unleash your inner martial artist and create your own personalized knuckledusters. It's a hands-on adventure you won't want to miss!
Designing the Brass Knuckles
Designing is an extremely important step for creating the perfect DIY brass knuckles. One can utilize boundless creativity in this step and integrate several styles into one product.
Step 1: Get a Reference Image
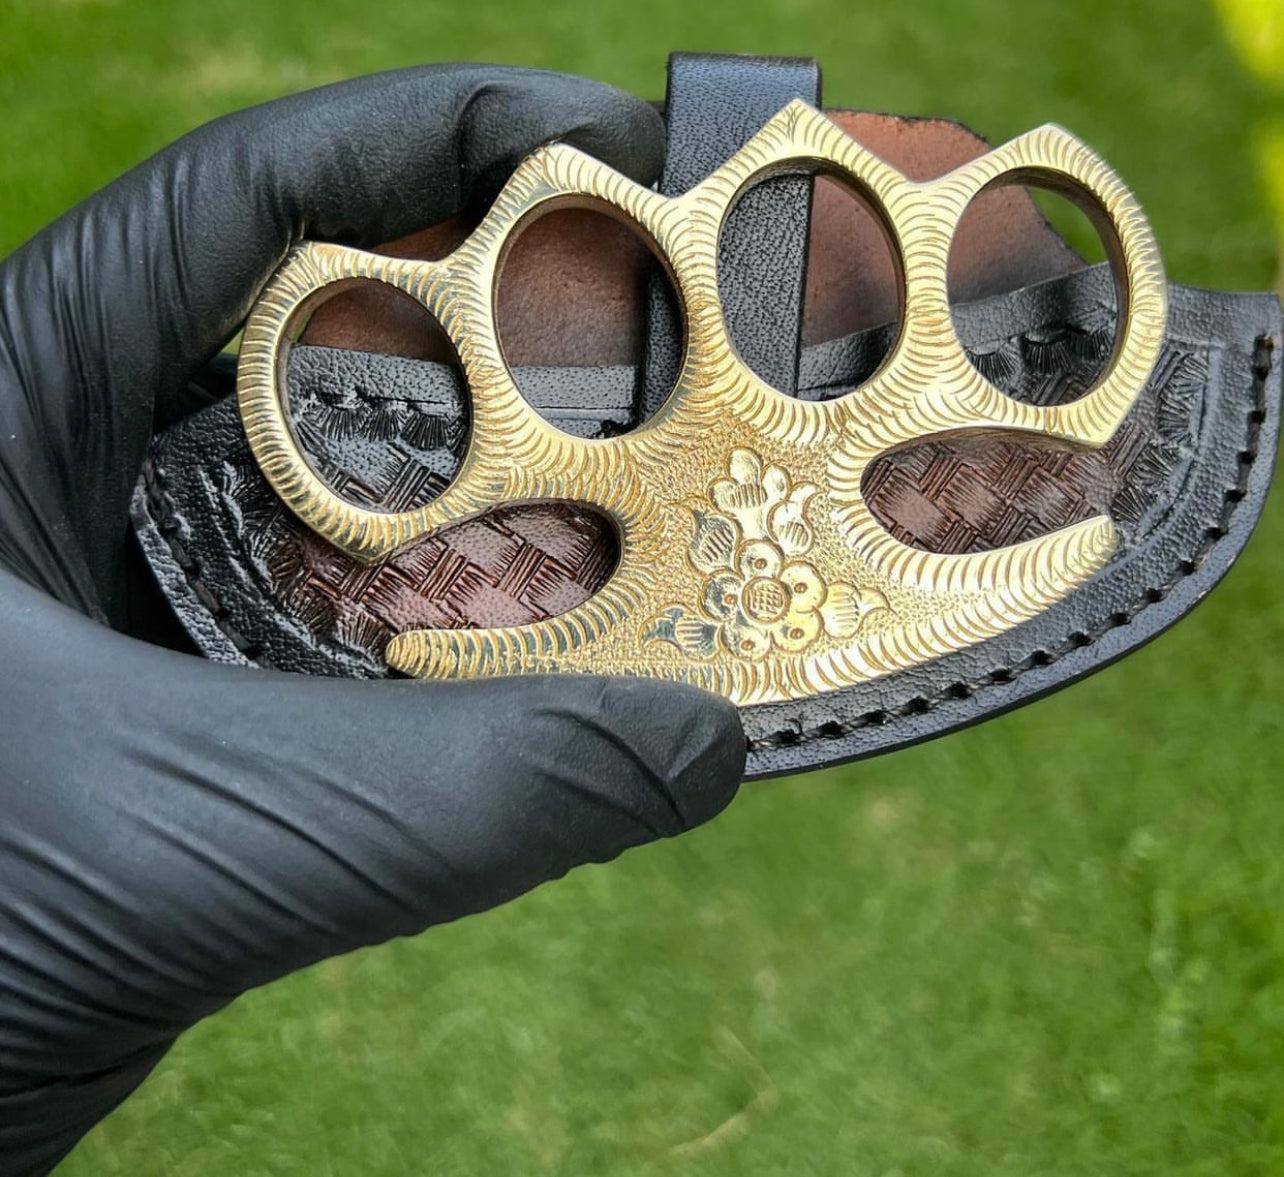
A reference image is your starting point for crafting DIY brass knuckles. Search online for images that match your vision. Look for clear, front-facing stencil drawings that highlight measurements and curves. Avoid images with distracting backgrounds or trademarks.
For inspiration, check out SwordsSwords' innovative brass knuckles design. If you're a pro, you can rely on memory, but for beginners, a reference image is a smart move.

Step 2: Sketch the Design
While it's tempting to print out an outline, experts often recommend sketching your design by hand. Take a pencil and let your hand bring the image in your mind to life on paper. This hands-on approach helps your muscle memory get acquainted with the knuckle duster dimensions and aids in understanding where cuts and curves should be made.
Sketching also provides a sense of the rough brass knuckles measurements, putting hand size and grip into perspective. It's a valuable step to evaluate your abilities and skills for brass knuckle construction.
Here are the standardized measurements for an average adult's brass knuckles:
- Maintain a distance of 1.18-1.38 inches (30-35 mm) between the bottom of the handle and the bottom of the hole for the middle finger, which typically resides above the others.
- Ensure a diameter of at least 0.98-1.06 inches (25-27 mm) for each finger hole. Make these holes egg-shaped rather than perfectly round, allowing each digit ample breathing room.
- With your design sketched out, you're one step closer to crafting your custom brass knuckles.
Step 3: Cutting and Tracing
With your knuckle dusters' design dimensions and measurements perfected, it's time to bring it to life. Carefully cut out the paper diagram, ensuring precision in every detail.
- Now, onto tracing the design onto your chosen metal. Use duct tape to securely attach the design to the metal surface. With the design in place, trace it meticulously using a permanent marker. The ink will create clear outlines. To make these outlines more visible and defined, enhance them with a pencil, darkening the lines.
- Once your design is boldly outlined on the metal, you can set aside the paper drawing. For the best results, use a metal sheet or block with a thickness ranging from 7 to 12mm. Both brass and aluminum are suitable choices for crafting your knuckle duster.
Now that your design is transferred to metal, you're one step closer to creating your customized brass knuckles.
Step 4: Cutting the Metal – Safety First
Before we dive into cutting the metal, remember that safety is paramount in any construction project. Here are some essential safety precautions:
- Safety Goggles: Protect your eyes with safety goggles. They shield your eyes from any flying debris or metal fragments during the cutting process.
- Handyman Gloves: Wear sturdy, protective gloves to safeguard your hands and fingers as you work with metal.
Now, you're ready to proceed with cutting the metal for your brass knuckles, ensuring your safety at all times.
Step 5: Drilling
- To create rough cuts and remove unnecessary metal, you'll need a drill. You can choose between a standing drill or a handheld one, depending on what's available to you. Follow the marker outline with your drill to begin shaping your metal knuckles.
- For this project, a 3.2 mm drilling needle will suffice. Carefully drill along the design pattern, making sure to create holes along the perimeters of the finger openings. This step is crucial in crafting the functional and ergonomic aspects of your duster knuckles.
Step 6: Punching
Now, the fun part begins! To shape your brass knuckles, use a screwdriver head or a small hammer to punch out the excess metal from the holes you drilled earlier. Keep striking carefully and consistently until the unwanted metal breaks away, leaving you with the desired form of your brass knuckles. Enjoy this hands-on crafting process!
Step 7: Take the Knuckles Out
With the excess metal punched out, it's time to carefully remove the knuckle duster from the metal block. Use your fingers and take advantage of the finger holes as leverage points to pry the knuckle duster free. This step gives you the perfectly defined brass knuckle in your desired shape.
Don't be disheartened if they still look a bit rough around the edges; there's more work to be done. Just remember to handle your brass knuckles with care as you proceed with the crafting process.
Finishing the Brass Knuckles
Finishing is a critical step to perfect your DIY brass knuckles, correcting any design errors, and adding personalized touches.
Smoothing Down
Start by smoothing out the edges using a rotary tool fitted with a soft metal implement. Run the tool over all the grooves and sharp edges, ensuring a smooth finish. Hold the knuckle duster firmly while using the tool to prevent any accidents.
Filing the Details
Metal files are excellent for adding small details and embellishments to the edges of the brass knuckles. Carve out patterns or angles to customize your design. Metal files can also be used to smooth the entire brass knuckle, although it may be time-consuming for beginners.
Sanding
Use sandpaper to sand the trims and corners, grinding them properly to remove any remaining metallic impurities. Begin with larger-grit sandpaper and progressively move to finer-grit sandpaper (around 320-400 grit) for a smoother finish.
Buffing
Buffing with steel wool makes the brass knuckles safe for everyday usage. Use a steel wool pad in soft, smooth circular motions across the entire knuckle. Ensure every corner and crevice is adequately buffed.
Polish the Knuckles
The final step is applying polish to the brass knuckles. Choose a trusted metal polish brand and ensure the knuckles are clean before applying the polish. Thoroughly apply the metal polish over the entire metallic surface and continue until all the moisture has evaporated.
By following these finishing steps, your real brass knuckles will be transformed into a polished and safe accessory for use.
Try the Brass Knuckles On
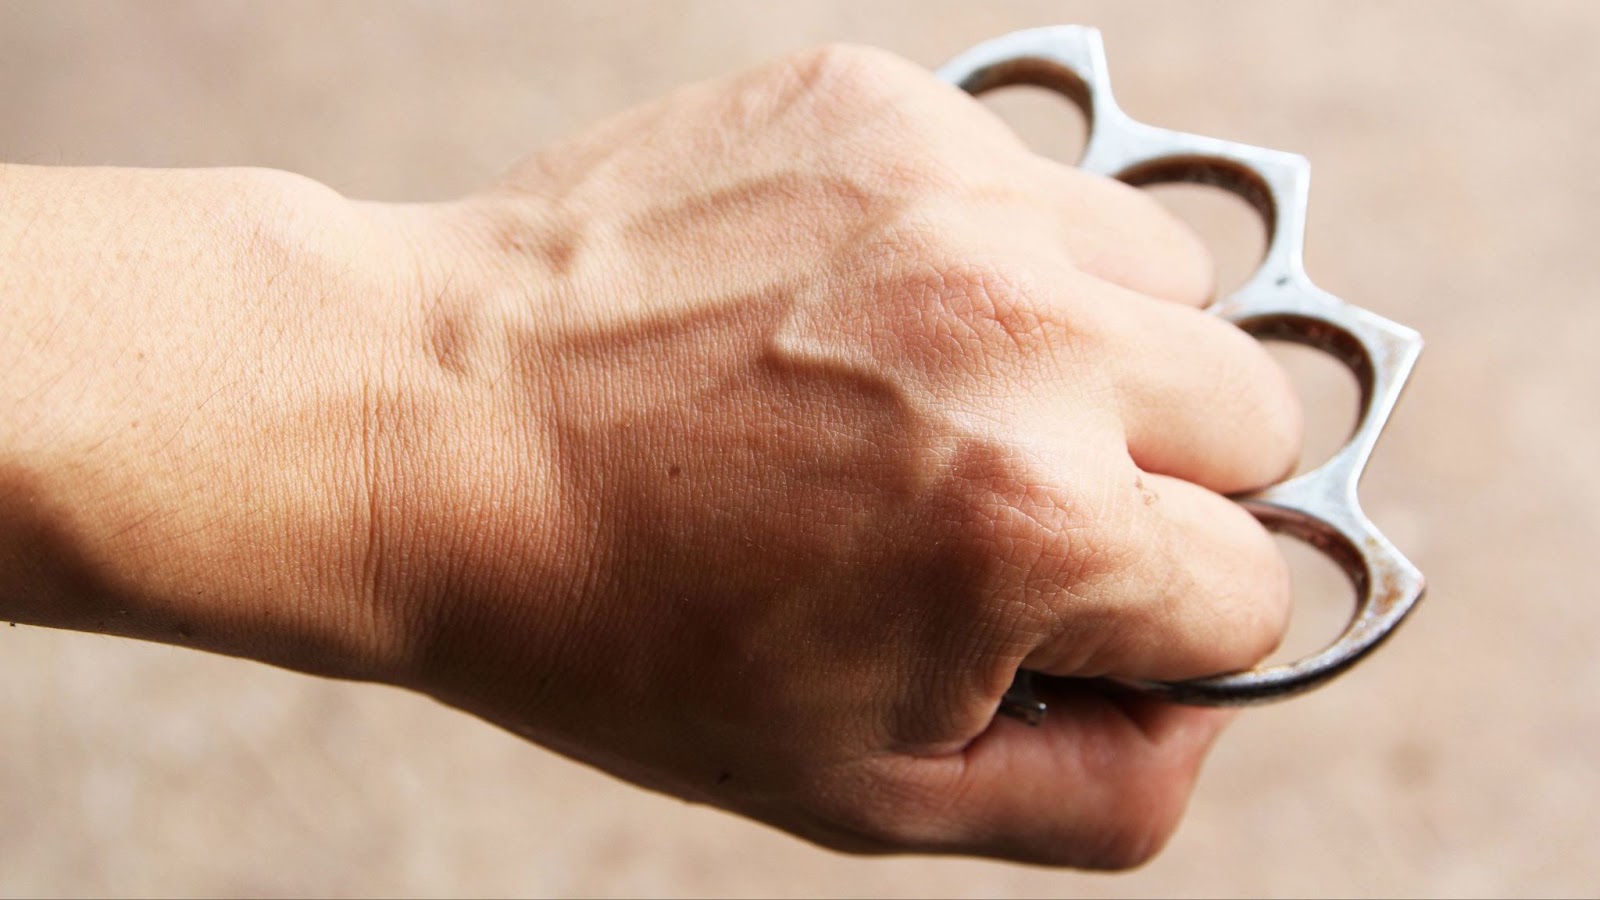
Congratulations! Your knuckledusters are now complete. It's time to try them on and assess their fit and comfort. While doing so, you might notice some design or construction flaws, which is common for a first-time project.
However, don't worry; your brass knuckles are ready for everyday use and self defense. Wear them with pride and confidence, knowing that you've created a functional and unique accessory to defend yourself if needed. Enjoy your creation!