
Drinking Horn: DIY Tips and Techniques
Posted by Swordsswords on Jul 17th 2024
Drinking horns have a rich history, often associated with Vikings and medieval times. These unique vessels are not only fascinating collectibles but also fun to use, especially when enjoying a nice glass of mead. If you're interested in making your own drinking horn, this guide will provide you with the DIY tips and techniques you need. Whether you're crafting a Viking drinking horn for yourself or looking for drinking horns for sale, you'll find everything you need right here.
Materials Needed for Making a Drinking Horn
Before you start making your own horn for drinking, you'll need to gather the necessary materials. Here’s a basic list to get you started:
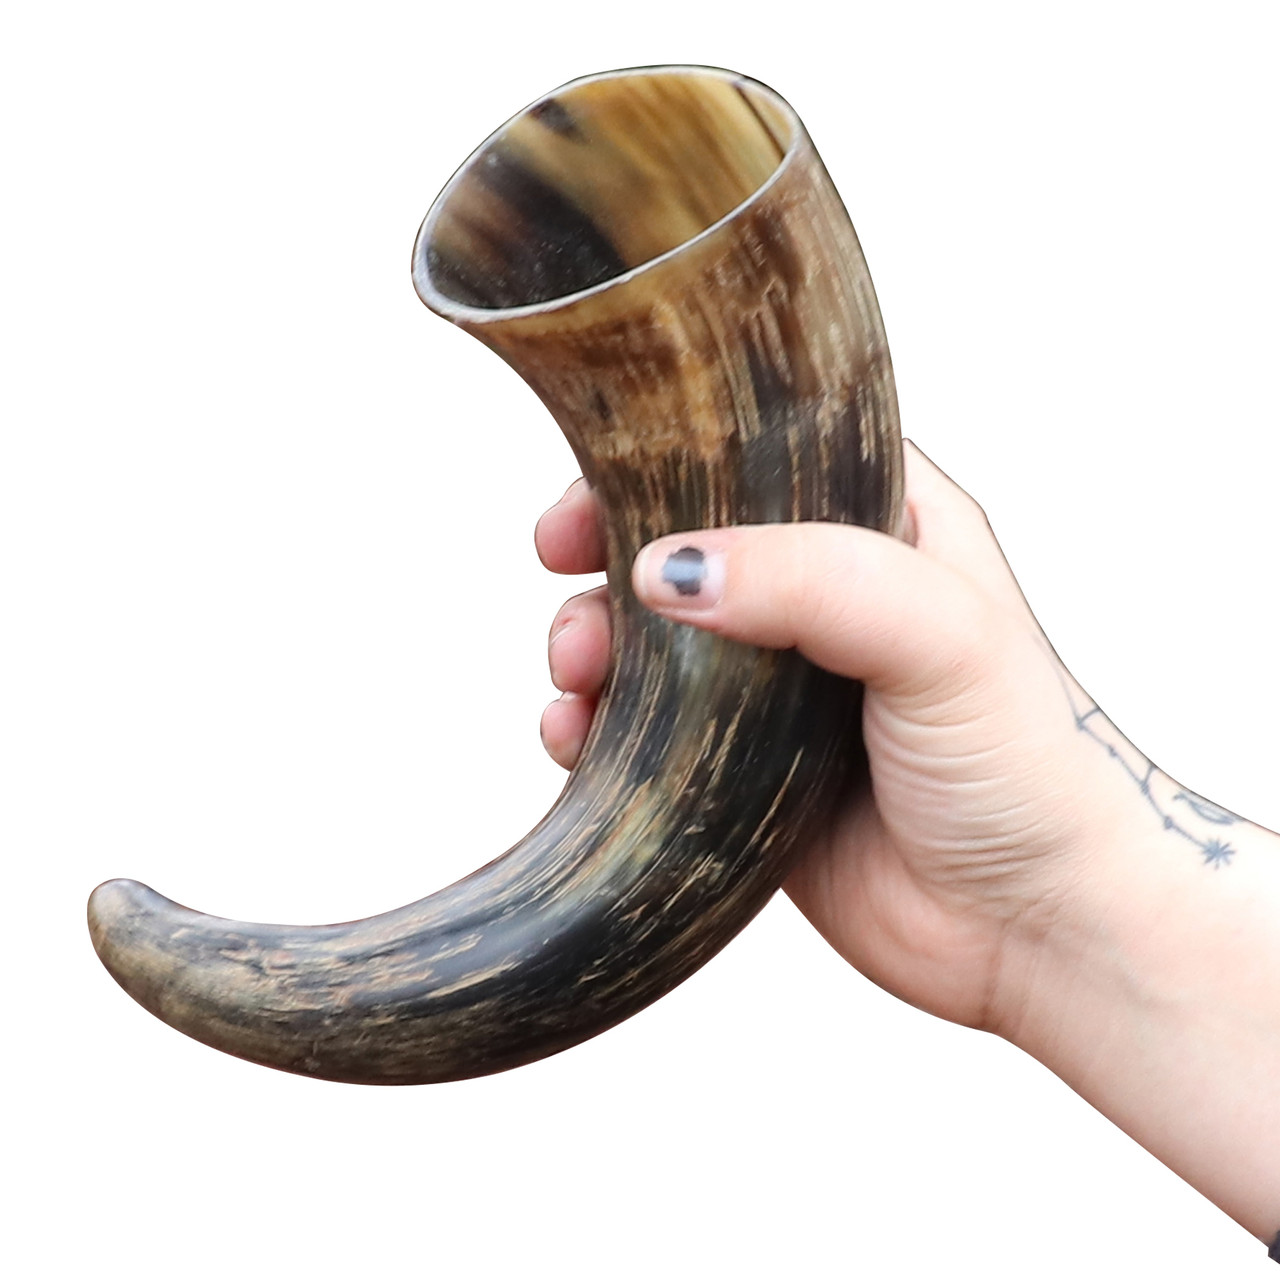
- A cow or buffalo horn
- Sandpaper (various grits)
- Beeswax or food-safe sealant
- Metal or wooden stand (optional)
- Basic tools (saw, drill, and knife)
Preparing the Horn
The first step in making your drinking horn is to prepare the horn itself. This involves cleaning and shaping it to your liking.
Cleaning the Horn
- Remove any debris: Scrape out any remaining material inside the horn.
- Soak the horn: Soak the horn in warm, soapy water for a few hours to loosen any dirt.
- Scrub the interior: Use a bottle brush to thoroughly clean the inside of the horn.
Shaping the Horn
- Trim the end: Use a saw to cut the narrow end of the horn to your desired length.
- Smooth the edges: Sand the edges with coarse sandpaper, then gradually use finer grits until smooth.
Sealing the Horn
To make your drinking horn mead safe, you'll need to seal the interior. Beeswax is a popular choice due to its natural properties and ease of use.
Applying Beeswax
- Melt the beeswax: Use a double boiler to melt the beeswax.
- Coat the interior: Pour the melted beeswax into the horn, rotating it to ensure an even coating.
- Cool and set: Allow the beeswax to cool and set inside the horn.
Alternatively, you can use a food-safe sealant, following the manufacturer's instructions for application.
Adding Finishing Touches
Once your drinking horn is cleaned, shaped, and sealed, you can add some finishing touches to personalize it.
Polishing the Exterior
- Sand the exterior: Use fine sandpaper to smooth and polish the outside of the horn.
- Buff to a shine: Use a soft cloth to buff the horn until it shines.
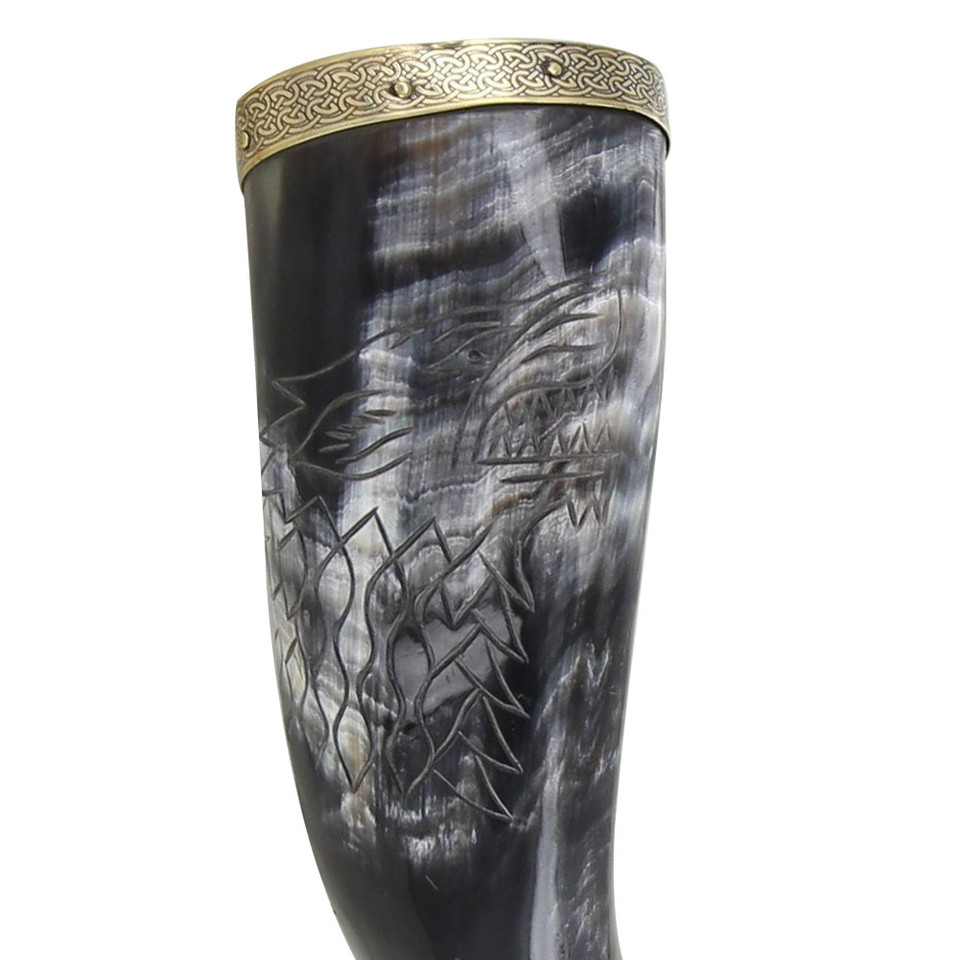
Adding Decorations
- Engravings: Carve designs or runes into the horn for a traditional Viking look.
- Metal accents: Attach metal rings or caps to the ends of the horn for added flair.
- Straps: Attach a leather strap for easy carrying.
Caring for Your Drinking Horn
Proper care is essential to maintain the quality of your Viking drinking horn. Here are some tips:
- Hand wash only: Avoid using a dishwasher, as it can damage the horn.
- Avoid extreme temperatures: Do not expose the horn to very hot or very cold liquids.
- Regular maintenance: Reapply beeswax or sealant as needed to keep the horn in good condition.
Conclusion
Creating your own drinking horn can be a rewarding experience, combining craftsmanship with a touch of history. Whether you’re sipping drinking horn mead or just displaying your handiwork, a DIY drinking horn is a unique and personal project. If DIY isn’t your thing or you’re looking for more options, check out the variety of drinking horns for sale at swordsswords.com. From traditional Viking drinking horns to modern designs, you'll find the perfect horn for drinking to suit your needs. Cheers!